About Stacks Guru
Stacks Guru is born from the need to search the vast number of videos out there on stacks built for Stacks Pro and the Stacks 5 plugin for Rapidweaver.
We have scraped over 500 videos to get the transcripts for each in order to make the spoken word searchable.
Please use this free tool to help you learn and discover the awesome power that Stacks and the stacks made for Stacks have to offer.
Stacks Guru
Video Reference
Parallax Stack for RapidWeaver
02/19/2015
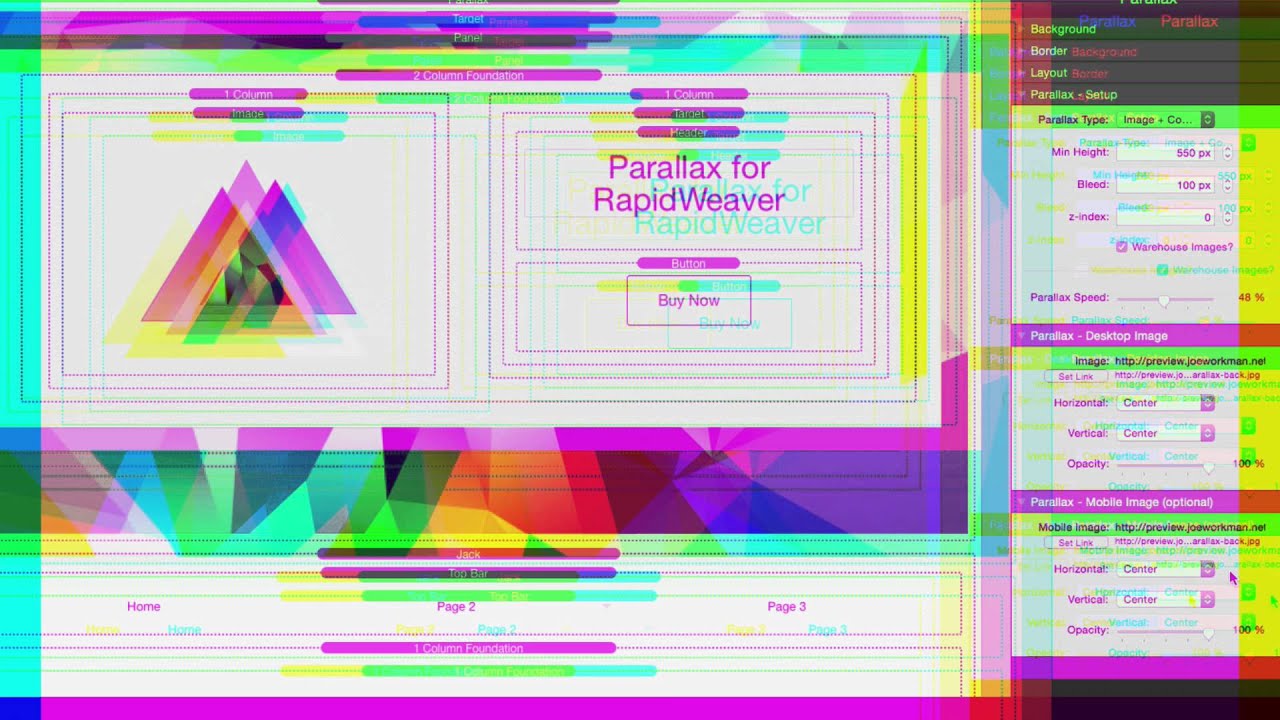
Parallax product page: http://joeworkman.net/rapidweaver/sta... Parallax effects are highly desired for modern webpages now. The most popular and desirable of these effects is parallax backgrounds. We wanted to develop a stack that made this dead simple to implement. Parallax definitely achieves that in glorious fashion!Parallax product page: http://joeworkman.net/rapidweaver/sta...
Transcript
00:06 hey everybody this is joe workman and00:08 today i am excited to show you the new
00:09 parallax stack
00:11 now we've been working on this stack for
00:12 a while and
00:14 we've wanted to ship it for even longer
00:16 because it's something that users
00:17 really really want they want that
00:19 parallax effect where the background is
00:22 moving slower than the content right
00:25 just a really slick animation that
00:27 really when do when done right um
00:31 it can really make your website pop
00:32 right
00:34 so without further ado let's jump in and
00:36 see exactly how easy it is to implement
00:40 now before we jump in and show you how
00:42 to use the stack i just want to review
00:44 some of the features of this stack
00:46 so if we look at the demo site we'll
00:49 notice that as i scroll down this page
00:52 first let's concentrate on this banner
00:54 image here notice that the background is
00:56 actually going to be
00:57 moving slower at a slower rate than the
01:00 content scrolls
01:01 so as i scroll down the page you'll see
01:03 that the
01:04 background image is actually scrolling
01:06 slower than the content
01:08 it gives it kind of a layered moving
01:10 effect
01:11 the next effect here we have is the
01:13 apple
01:15 now in this apple uh we'll notice that
01:18 it's actually moving
01:19 up and down right it's not fixed it is
01:22 scrolling but it is scrolling at a
01:25 different rate than the content
01:26 and finally at the bottom we have a
01:28 similar to the banner where we have
01:30 it's just an image right there's no
01:32 content within it
01:33 and that's another thing that you can
01:35 notice is you can have content inside
01:37 parallax
01:38 or you can have just the image it's up
01:40 to you
01:42 now if we look at the cover demo we'll
01:44 notice here that
01:45 in this demo parallax is actually a
01:47 cover image that covers the entire web
01:49 page
01:50 and as i scroll down this page we'll see
01:53 that the actual
01:54 background does scroll with the content
01:57 but just at a much slower rate
01:59 so we do get some movement in the
02:01 background
02:02 now in this final demo we have a layered
02:05 parallax
02:06 and this is kind of the holy grail of
02:08 parallax's because on this page i have
02:10 three different parallax stacks in the
02:11 background
02:13 and you'll notice as i scroll down the
02:14 page we have the brown background
02:18 the dark green leaves and these light
02:20 green leaves
02:21 and all of them are animating at
02:23 different rates
02:25 so we really get a layered animation
02:28 effect here
02:29 now in this example i just have a target
02:32 stack with
02:33 some content that's fixed to the center
02:35 of the page
02:36 however you can have content scrolling i
02:39 really wanted to showcase
02:41 the layered parallax effect so i didn't
02:43 want to add too much content to this
02:45 page
02:46 to kind of you know give you a full
02:48 effect of what the animation is doing
02:51 now before we move on i want to make a
02:53 note about how parallax works on mobile
02:55 and touch devices for performance
02:59 reasons
02:59 the parallax effect is disabled on
03:02 mobile devices
03:03 and what we'll get is the parallax
03:06 images that we define
03:07 are then used as static background
03:09 images
03:10 instead so we still have a nice
03:13 beautiful website on mobile
03:14 but we don't get that full parallax
03:16 effect and the reason is
03:18 it uses a lot of computational power to
03:21 get that effect
03:22 so if we were to enable that on devices
03:24 such as mobile like an iphone
03:27 you'd really get a lot of jittering and
03:28 stuttering in the scroll
03:30 and your website wouldn't really be
03:32 smooth and we don't want that so
03:34 instead we fall back to static
03:37 background images
03:38 for mobile devices so here we are in the
03:41 parallax demo file that ships with the
03:43 parallax stack
03:44 and you can download it anytime from our
03:46 documentation portal as well
03:48 and this project file was is the exact
03:51 project file used to build that demo
03:53 website that we just looked at
03:55 so if we look at this first parallax
03:56 stack on the page
03:58 you'll notice that their settings are
04:00 set up into three distinct groups
04:02 first we have some setup we have the
04:04 setup for the desktop image and another
04:06 one for the mobile image
04:08 now there are three different types of
04:10 parallax effects that you can use
04:13 the first is cover body okay and this
04:16 allows you to
04:17 as we saw in the demo to have the
04:19 parallax effect
04:20 over the entire web page okay
04:24 the next is image only now this is the
04:26 default where you have
04:27 purely an image that will then do the
04:30 parallax effect
04:33 next is image plus content and that's
04:35 basically the image
04:36 and then you can overlay content on top
04:39 of that
04:40 now when you use image only or image
04:42 plus content you'll notice that there is
04:44 a minimum height
04:46 setting available and that defines the
04:48 actual minimum height
04:49 of the parallax area
04:52 now the bleed is a setting that
04:56 is useful for as you're scrolling
04:58 sometimes
04:59 the content can separate depending on
05:02 how fast you're scrolling the site
05:04 so basically the bleed will allow some
05:07 of the content to bleed
05:09 underneath the stacks below it and
05:11 finally z-index we'll be going over this
05:13 um a little bit later but this is
05:15 important when you're especially when
05:17 you're doing the
05:18 layered parallax effects next we can
05:20 warehouse our images
05:22 so you can either if you uncheck
05:23 warehouse images you can drag and drop
05:25 your images into the settings
05:27 or you know if you check it you can
05:28 define urls to warehoused images
05:30 and finally is the parallax speed
05:33 basically the higher this number the
05:34 faster the
05:35 things are going to animate okay the
05:37 slower the speed
05:39 the closer it is going to be to the
05:41 scrolling speed
05:42 so if you want more elaborate kind of in
05:44 your face animations
05:45 you're going to want to make this value
05:46 a lot higher okay or if you want more
05:49 subtle animations
05:50 you're going to make this parallax speed
05:52 lower next
05:54 the image settings are very obvious
05:56 right
05:57 you set your image um you define the url
05:59 if it is a
06:00 um a warehoused image or you can drag
06:02 and drop if you're not using warehouse
06:05 then we have alignment so we have
06:06 horizontal and vertical alignment
06:08 most of the time you're going to want to
06:09 use center center but depending on your
06:12 image and how your image is laid out
06:14 you may want to have left center or
06:16 right center or
06:18 right top or center top and so play
06:20 around with those settings to get the
06:22 alignment that you'd like
06:24 next is the opacity and that's the
06:26 opacity of the parallax image
06:28 so if you want maybe the background of
06:30 the site to bleed through the image or
06:31 something of that nature
06:33 you can definitely set this opacity
06:35 level to
06:36 something lower than 100 okay
06:40 and then we have the same exact options
06:42 for mobile now if you don't define
06:44 mobile images it is actually going to
06:47 use the desktop image
06:49 now however uh it will still use the
06:52 centering and alignment and opacities
06:55 for mobile
06:56 okay so now let's look at this layered
06:58 demo right i call this the holy grail of
07:00 parallax effects because it really
07:02 gets some really great animations going
07:04 very interesting
07:06 so you'll notice here
07:10 is that i have three parallax stacks on
07:13 the page
07:14 now when you set the parallax stack to
07:16 be cover body
07:17 there it doesn't show anything right but
07:19 what it does is it shows that particular
07:21 image
07:22 um inside the as the background if you
07:25 have preview background turned on
07:28 now because we have three you're not
07:30 going to see all three images
07:32 in uh edit mode because basically the
07:35 third one will overwrite and show the
07:37 background but we'll see them once we
07:39 are
07:39 inside preview if we look at the first
07:42 instance of the parallax
07:44 stack here on the page we'll notice that
07:46 i've added that brown
07:47 background image and then i set the
07:50 parallax speed to be 1
07:52 because i want the background to
07:53 actually be a lot slower than the
07:55 foreground
07:56 elements the next instance we have here
07:59 is i've added those dark green leaves
08:02 okay and then i set the parallax speed
08:05 to be 3
78:06 so it's a lot faster than that
08:08 background that brown background
08:11 and finally for the large green leaves
08:14 i've added my background image here and
08:16 i set the parallax speed to be 6
98:21 now another thing you're going to want
08:22 to make sure is that we properly set our
08:24 z
08:24 indexes if we notice on the
08:28 very first one i have my z index set to
08:31 zero
08:32 and that's for that brown background
08:35 then the
08:35 second layer i have it set that to z
08:37 index of one
08:39 and then the third background the one
08:42 that goes on the very top has a z index
08:43 of
08:44 two so the higher the z index
08:48 the higher up the stack that image will
08:51 be
08:52 so you can define the actual layers and
08:55 their order
08:55 by using the z index property
08:58 and as you see this provides a
09:00 beautifully layered parallax effect
09:03 now this effect really requires that you
09:05 do a lot of
09:06 planning and work with your images as
09:08 you notice here we have a simple brown
09:10 background that is solid
09:12 okay then we have these dark green
09:15 leaves which is a basically a png where
09:18 the rest of the image is transparent
09:20 except for the leaves
09:22 right and the same thing for these
09:24 larger green leaves
09:25 it is a png it is transparent except for
09:28 where the green
09:29 leaves are right so if you want to do
09:33 this
09:34 layered parallax effect you're really
09:36 gonna have to
09:37 um you know imagine what you want and
09:40 you're gonna have to do some graphics
09:41 work on your own
09:42 right um the stack isn't gonna create
09:44 these graphics for you you're gonna have
09:46 to do proper planning
09:47 and you're gonna have to create these
09:49 graphics to get the effect that you want
09:52 so there you have it you can see how
09:54 easy it is to implement this parallax
09:56 stack
09:56 i think that we really nailed the
09:58 simplicity of implementing such a
10:00 complex
10:01 animation now there are some caveats
10:04 right
10:04 and i talked about a few of them already
10:07 number one i'm not sure i mentioned
10:09 is that inside preview of rapidweaver
10:12 you might notice that the animations are
10:14 a little
10:15 jittery okay if you were to preview
10:18 inside a browser like chrome or safari
10:20 or firefox
10:21 you'll notice that those animations are
10:22 a lot smoother right
10:24 um not quite sure why rapidweaver the
10:27 animations aren't really right
10:29 but it's a lot smoother when you publish
10:30 your site and when you preview even
10:32 locally inside a browser
10:33 so uh that's one thing the second thing
10:36 is
10:39 i want to make sure that you don't
10:41 really overdo this animation in your
10:43 websites right i mean this is a really
10:45 great thing
10:46 um and the animation is is powerful and
10:49 i've seen
10:50 parallax effects just gone crazy right
10:53 so i think sometimes especially with
10:55 stuff like this
10:56 is that less can a lot a lot of times be
10:59 a lot
11:00 more right so the maybe the less or the
11:04 more subtle animations
11:05 were really adds the small details to
11:08 your site that
11:09 make the user go oh wow that's really
11:11 great did you see that background move
11:13 right but if you have a site that's like
11:15 moving all over the place
11:17 and kind of gives a person a headache
11:19 whenever they're they're trying to you
11:20 know
11:20 read something right it might be a
11:23 little much
11:24 so pr just have a precaution and while
11:27 the stack is great
11:28 um try not to use it too terribly much
11:32 in terms of you know stacking them too
11:34 much and making things
11:36 too crazy okay and lastly
11:40 um while the stack provides some great
11:43 animations for your images
11:45 it doesn't do the image work for you
11:47 right
11:48 we saw in that layered animation now you
11:50 can see the images they're they're
11:52 actually
11:52 baked in the demo project so you can you
11:54 know copy them out and see how they're
11:56 done
11:57 right um you're gonna have to plan right
12:00 you're gonna have to plan what images
12:01 are gonna work
12:02 properly especially if you want that
12:04 layered effect right
12:05 because you're gonna want to have some
12:07 things transparent on top of other
12:09 things you have to plan the z
12:10 index and how they kind of you know go
12:13 on top of each other
12:14 so there is some planning that you're
12:18 going to have to do
12:18 if you want to use some more some more
12:20 of the advanced features of the stack
12:23 now if you just want you know a simple
12:25 you know maybe a sunset image or
12:28 you know a picture of a picture of your
12:29 office or something like that throw it
12:31 in there in image only mode
12:32 you know that's pretty much drag and
12:34 drop um not too much planning going on
12:38 but for some of the more advanced
12:39 layouts you're definitely going to have
12:41 to plan
12:42 so just a precaution something to think
12:44 about
12:45 i hope you enjoy this stack i hope that
12:48 you use it
12:49 uh to your best abilities to make
12:51 fabulous websites i know you can and i
12:53 can't wait to see what you build with it
12:55 so thank you very much everybody have a
12:57 great day enjoy parallax
12:59 and bye oh wait okay
13:02 before i say goodbye i made a promise to
13:04 somebody i promised there'd be a hat in
13:06 this video
13:07 i promised the next video i did i'd wear
13:09 a hat so before i go everybody
13:12 here's a cool hat have a great day happy
13:16 weaving go forth and make your websites
13:18 great"}]
Search the page
0
